- Published on
GitHub Authorization with GraphQL and Apollo Server
- Authors

- Name
- Bryce Cee
Introduction
I have been working on a project recently that uses “Sign up with Github” and I thought it would be nice to share a bit of my experience using Github authorization with Graphql and Apollo Server.
Authorization: it is the process of giving permission to a user to access a certain resource. This basically occurs after authentication.
Let’s get right to it,
Setting up a Github OAuth.
This whole process will need you to create a Github App.
- Login to your Github account and click your user icon on the top right to reveal a drop-down menu with settings as one of the options and click on it.

- On the settings page select the “Developer Settings” on the left panel.

- On the developer settings page select “OAuth Apps” on the left side panel. Create a new OAuth app by pressing the button on the right.

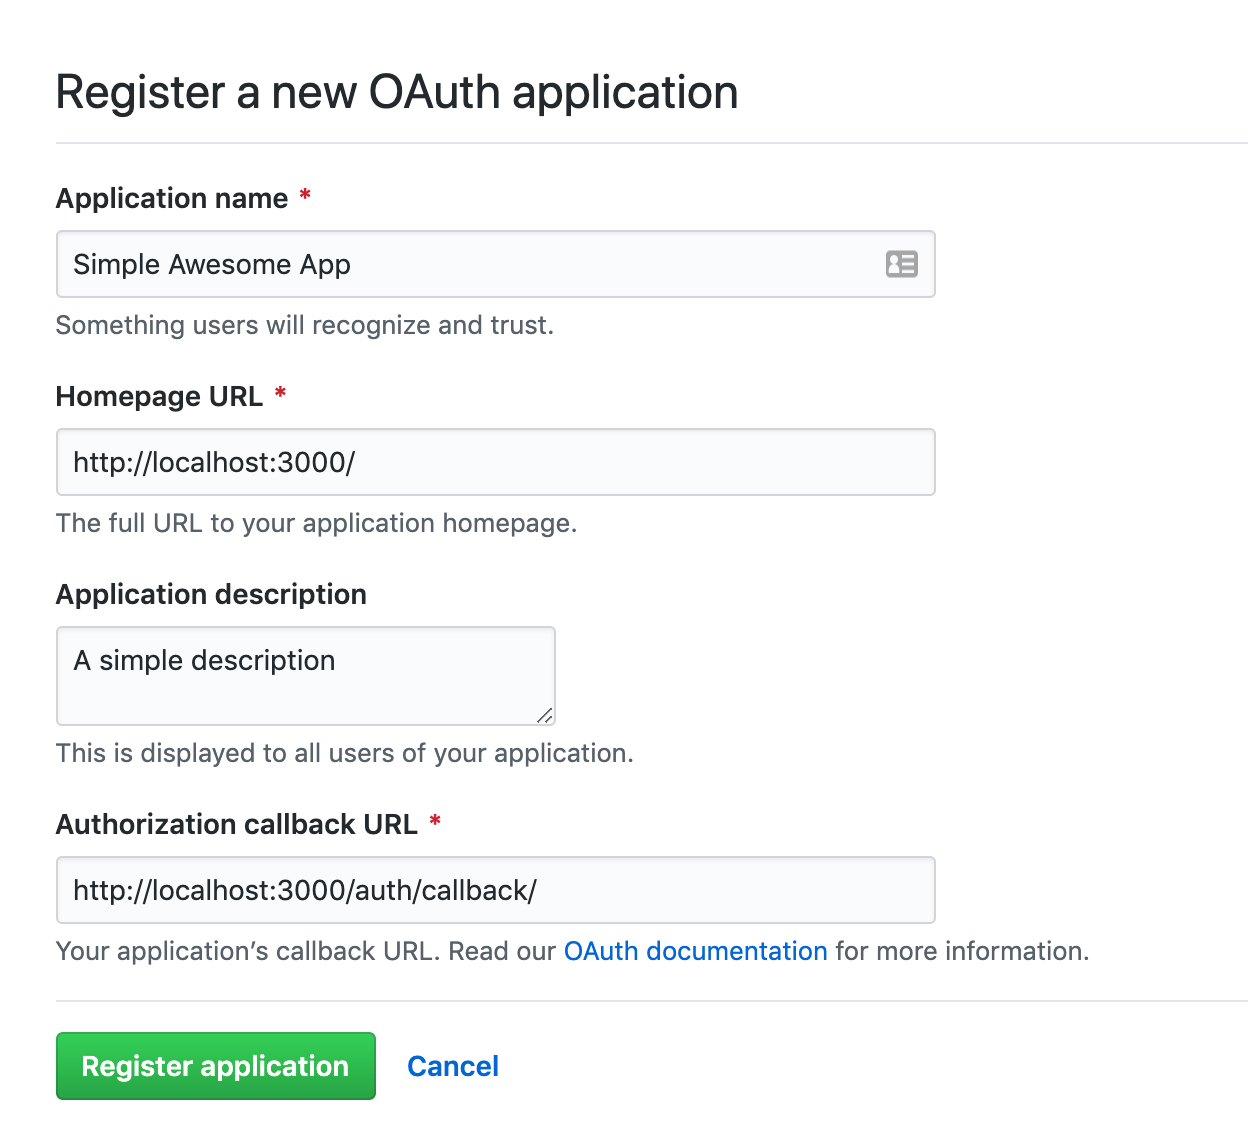
Add the following setting to create a new OAuth App.
- Application name: Simple Awesome App
- Homepage URL: http://localhost:3000
- Application description: A simple awesome app
- Authorization callback URL: http://localhost:3000/auth/callback

- Finally, register the application by clicking the “Register application” button.
On the next page, you should copy your Client ID and Client Secret. The two are important and should not be hardcoded into your codebase but rather store the keys in a .env file. They should be saved as follows in the env file.

CLIENT_ID="your client_id"
CLIENT_SECRET="your client_secret"
STATE="a non readable string that we will use for security purposes"
The Authorization Process.
There are two ways that can be used to implement authorization which are:
- Web application flow
- Non-Web application flow
We will use the web application flow method in this tutorial.
Web application flow
The flow simply goes as follows:
- Users are redirected to request their GitHub identity.
- Users are redirected back to your site by GitHub
- Your app accesses the API with the user’s access token
Requesting a user’s identity from GitHub.
The URL that will be used in this process is
GET https://github.com/login/oauth/authorize
To authorize the user you can embed the link onto a button that has the Github icon with a “sign in with” text beside it like so using react.
const Login = () => (
  <div>
    <a href={`https://github.com/login/oauth/authorize?client_id=${process.env.CLIENT_ID}&state=${process.env.STATE}`}>
      <span>Sign up with Github</sapn>
      <img src="add a github logo image" alt="github" />
    </a>
  </div>
);
This is where we will use the GitHub Client_ID we saved in our .env file and append it to the URL as a query parameter with the key client_id. The state parameter is used to protect against cross-site request forgery attacks.
Redirecting the user back to your site from GitHub.
If the user accepts your request, GitHub redirects back to your site with a temporary code in a code parameter as well as the state you provided in the previous step in a state parameter. The temporary code will expire after 10 minutes. If the states don't match, then a third party created the request, and you should abort the process.
The continuation of this article is coming up soon.